SECTION 6: VERTICAL STABILIZER
Jump to navigation
Jump to search
Build Instruction Updates
- 10/05/21 06_10.pdf
Check for more recent updates here
Builder Videos
Plane Lady:
Jason Ellis:
- 6-2 Step 1 and 2
- 6-2 Step 3
- 6-3 Step 1-3
- 6-3 Step 4-5
- 6-3 Step 6-7
- 6-3 Step 8-11
- 6-4 Step 1-4
- 6-4 Step 5-7
- 6-5 Step 1-3
- 6-6 Step 1-4
- 6-6 Step 5-9
Notes
- When first putting the nose rib in, don't ram in in there and cleco. Be gentle, and it will probably need to be sanded down. Otherwise you will have "outtie" dents on the leading edge of your skin.
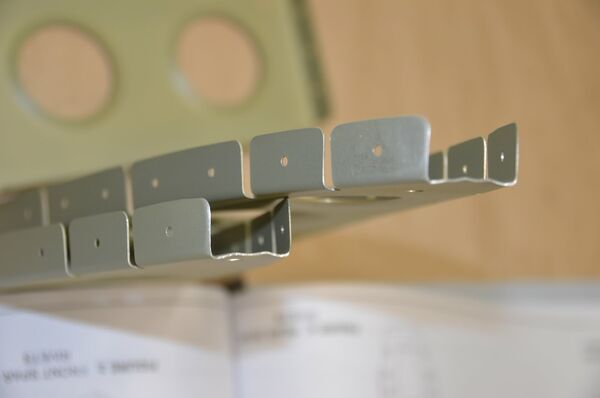
- These ribs have been sanded a bit and the web was fluted at the tip trying to bring the flanges closer together, but it still wasn't enough.
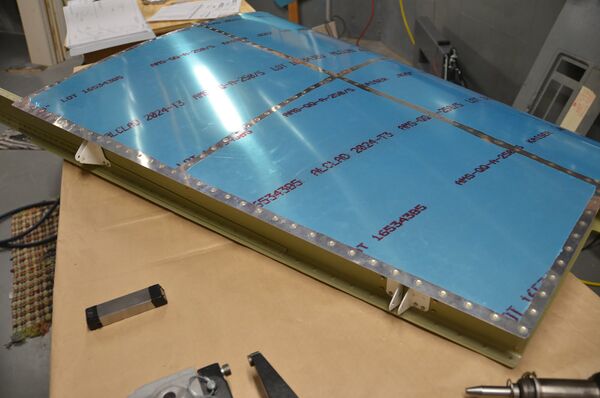
- Before you start riveting, put some electrical tape on your bucking bar. It will help to not beat up the AlClad or scratch off your primer if you did that.
- AN426AD3-3.5 rivets fastening the skins to the ribs may actually be a bit long for the .050" total skin thickness. (Ideal length would be .191") If you have trouble with these rivets leaning over instead of driving straight, consider taking off .020-.030" or using 3-3's instead.
- Page 6-5, Figure 2: This may be your first time using AN3 bolts. Be sure to refer to the torque specs in Section 5 and consider adding torque seal as well. Torque specs don't apply to the AN509 machine screws, however.

