SECTION 6: VERTICAL STABILIZER: Difference between revisions
Jump to navigation
Jump to search
m (→Builder Videos) |
|||
| Line 1: | Line 1: | ||
=== Build | === Build Instruction Updates === | ||
* 10/02/20 [https://www.vansaircraft.com/wp-content/uploads/2021/04/06_10.pdf 06_10.pdf] | * 10/02/20 [https://www.vansaircraft.com/wp-content/uploads/2021/04/06_10.pdf 06_10.pdf] | ||
=== Builder Videos === | === Builder Videos === | ||
Revision as of 21:32, 11 June 2022
Build Instruction Updates
- 10/02/20 06_10.pdf
Builder Videos
Plane Lady:
Jason Ellis:
- 6-2 Step 1 and 2
- 6-2 Step 3
- 6-3 Step 1-3
- 6-3 Step 4-5
- 6-3 Step 6-7
- 6-3 Step 8-11
- 6-4 Step 1-4
- 6-4 Step 5-7
- 6-5 Step 1-3
- 6-6 Step 1-4
- 6-6 Step 5-9
Notes
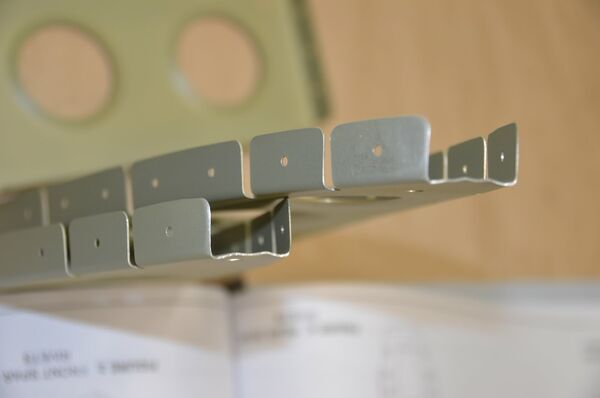
- When first putting the nose rib in, don't ram in in there and cleco. Be gentle, and it will probably need to be sanded down. Otherwise you will have "outtie" dents on the leading edge of your skin.
- These ribs have been sanded a bit and the web was fluted at the tip trying to bring the flanges closer together, but it still wasn't enough.
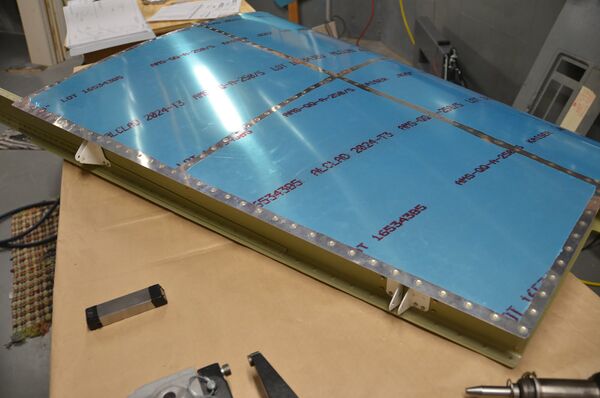
- Before you start riveting, put some electrical tape on your bucking bar. It will help to not beat up the AlClad or scratch off your primer if you did that.

